
 +91-984-5825982 | +91-996-4689921
 sales@cumulations.com
 Send your requirement
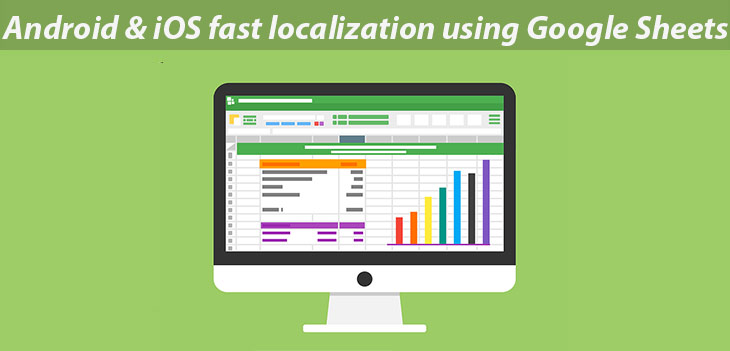
This blog aims at easing the task of adding translations for several languages/locale needed for Android and iOS project in a quicker manner using Google Sheets formula with Android Studio. Blog assumes that we are familiar with trivial steps of creating/adding translations by creating separate values folder for individual locale (Japan, Germany etc.) and creating strings.xml file for Android. Instead of adding translated values to each keys using Translations Editor, we prefer using the automated creation of string resource values from Google Sheets. The below steps briefs this procedure clearly.
Open Google Sheets in a browser.
Create a new spreadsheet and name it anything ex. “Cumulations_Translations_Utility_v2”
Create 4 columns. Key, English Translation, French Translation (for French) and French Translation Values.
Key columns will have all the values from strings.xml file in values folder used for default English language (Android).
English Translation column will have values in English for reference.
French Translation column for creating values in French.
‘’French Translation Values” will have two sub-columns “Translated String(Android)” and “Translated String(iOS)” for creating respective string resource values using formulas.
So the sheet would look like in the below picture

French Translation Column will use below formula to create values automatically by reading English Translation column values.
Formula:
=GoogleTranslate(B3, "en", "fr")In place of “en” we can use keyword “auto” for auto detecting language.
Translated String (Android) column aims at creating values that we can directly copy paste in string.xml belonging to ‘values-fr’ folder.
Ex: For “Hello” value will be “Bonjour”.
This value will be created automatically applying Google Formulas for the cell value.
Formula
="" & C3 & "" This formula needs to be pasted in a Translated column in the first row. Note values of an index (A3 and C3) in the formula. Now values for remaining rows in “Translated String” column can be easily filled by using drag method. Move cursor over the blue square dot and then you will get plus symbol. Left Click and hold and drag to last bottom row in the same column. Values will be created automatically using formula by updating the corresponding row and column indexes.
Now copy all values of “Translated String (Android)” column and paste them inside tag string.xml file created under “values-fr” folder.

Similarly, we can add translations for iOS projects also making use of below formula
Formula:
=char(34)&B3&Char(34)&char(61)&char(34) &C3 &char(34)We need to add column “Translated String (iOS)” and copy paste above formula in a 1st cell of that column. To add remaining values in the same column follow same drag method shown below.

Once all values are created, copy entire column and paste it into localised.strings (French) file.
That’s it all done. Happy coding.